If you’re planning a renovation or have found suspicious materials in your home, you might be wondering:
“How do I test for asbestos safely?”
The short answer is simple:
Asbestos must be confirmed through professional inspection and laboratory testing — not by appearance alone.
In this guide, we’ll walk you through exactly how asbestos testing works, when you need it, and how to avoid costly or dangerous mistakes.
Quick Answer: How Do You Test for Asbestos?
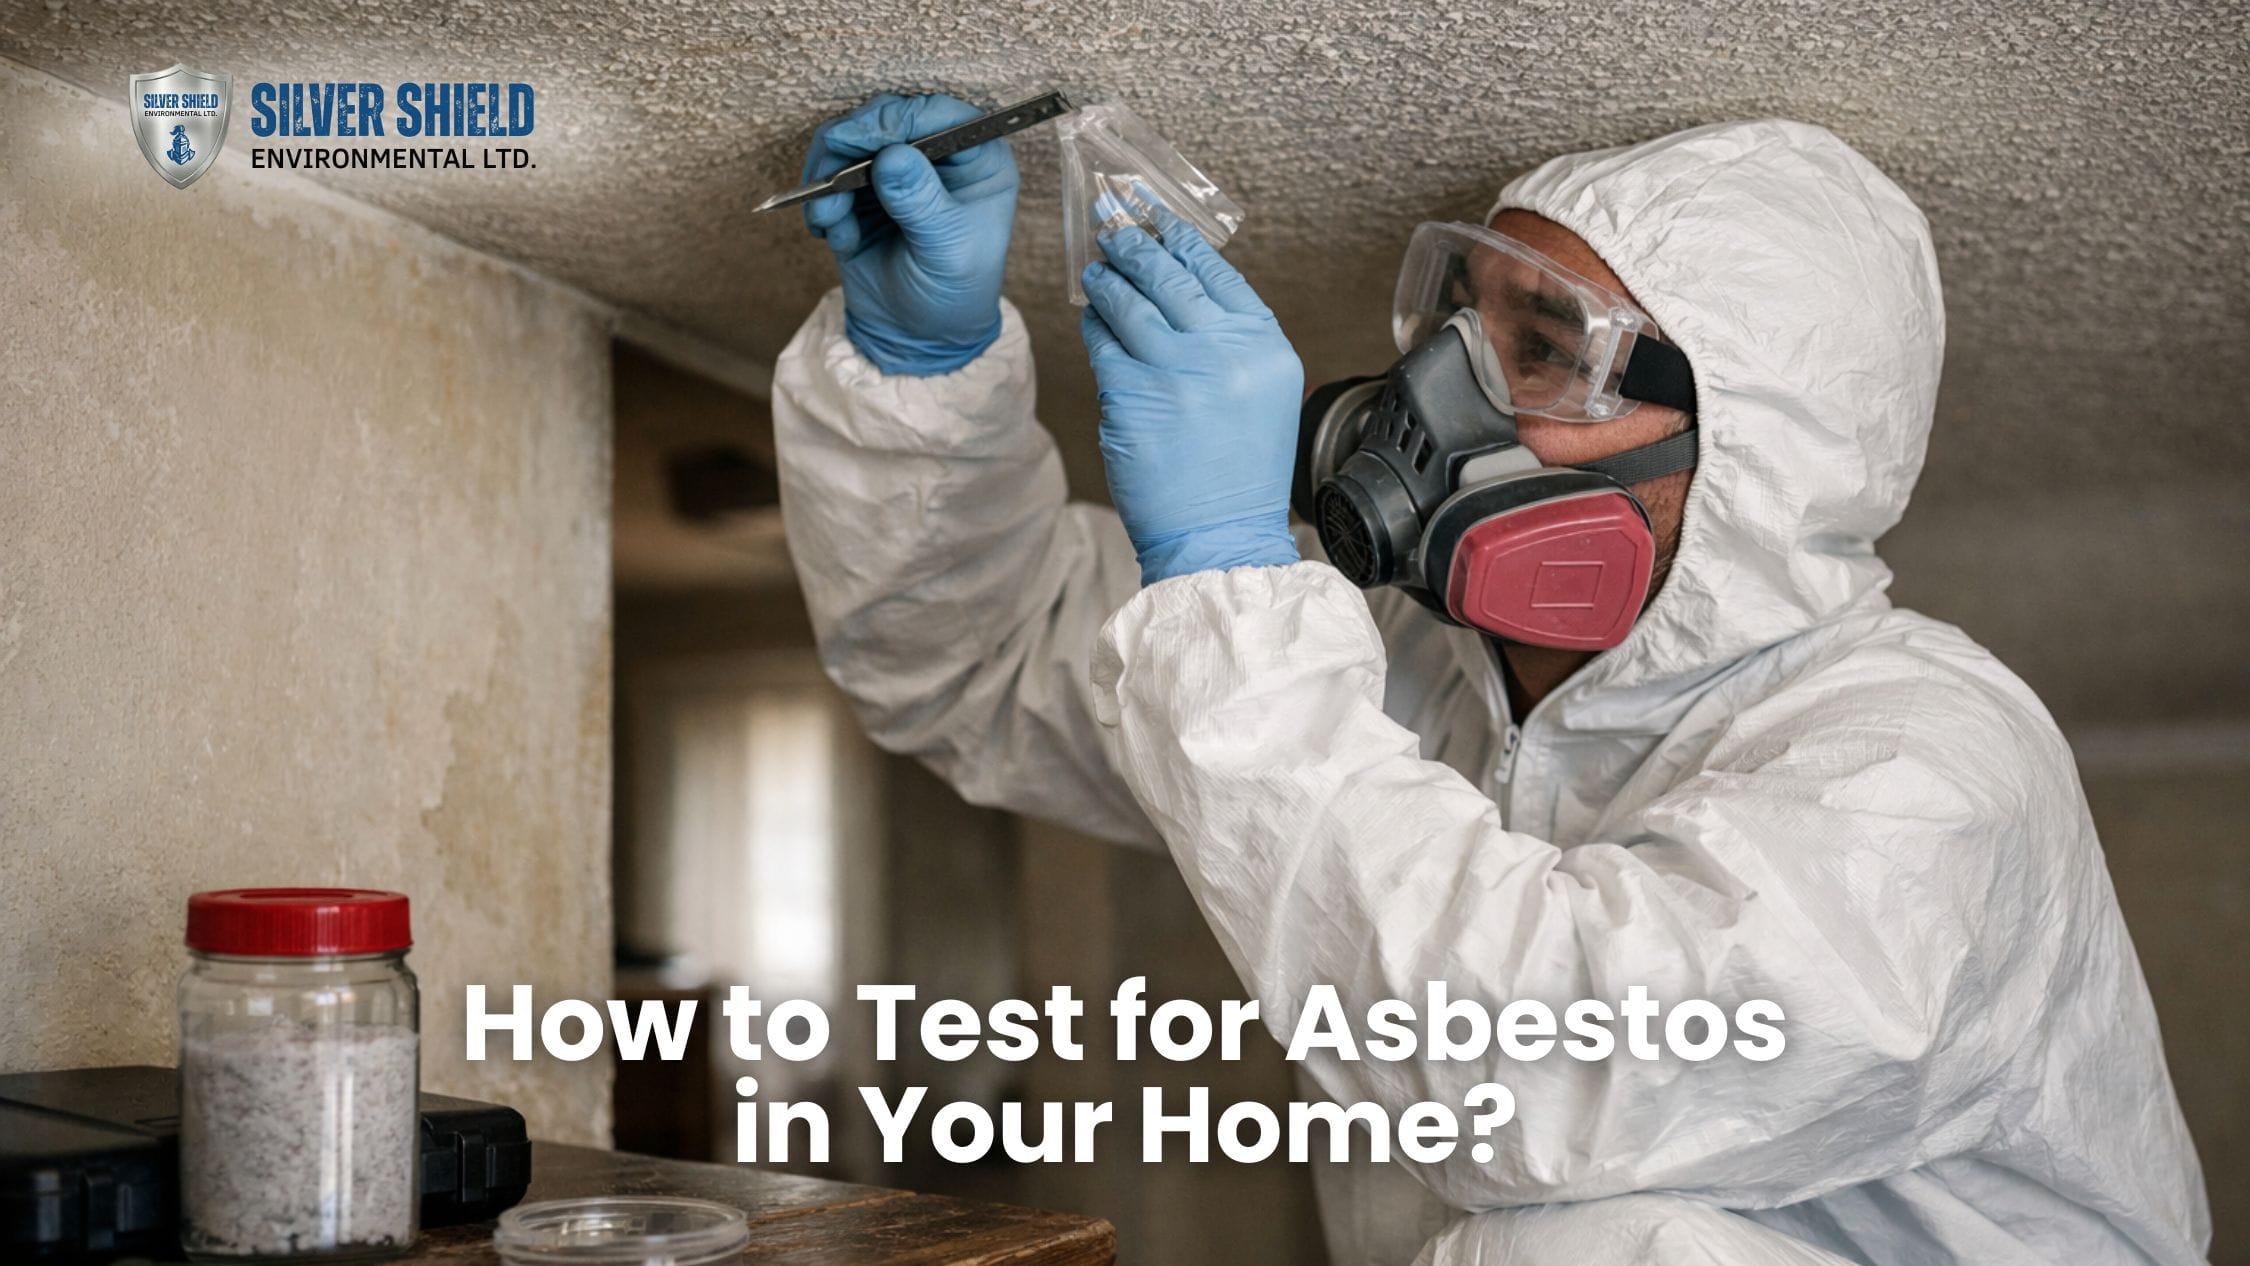
Asbestos is tested by carefully collecting a small sample of suspect material and sending it to a certified laboratory for analysis.
Because asbestos fibers are microscopic, you cannot confirm asbestos just by looking at it. Proper testing involves:
- Identifying suspect materials
- Collecting samples under controlled conditions
- Laboratory analysis using approved methods
- A written report with results and recommendations
👉 If you’re unsure about the material, it helps to understand what asbestos is and where it’s found before taking any action.
Should You Test for Asbestos or Leave It Alone?
Not every situation requires testing. In fact, testing is often only necessary under specific conditions.
When Testing Is Necessary
- You’re planning renovation or demolition
- The material is damaged, crumbling, or deteriorating
- You found unknown materials in an older home
- You’re buying or selling a property
When Testing May Not Be Needed
- The material is intact and undisturbed
- No renovation or disruption is planned
According to the U.S. Environmental Protection Agency, intact asbestos materials are often safest when left undisturbed.
When Should You Test for Asbestos in Your Home?
Timing matters more than most people realize.
Before Renovation or Remodeling
This is the most important time to test. Disturbing asbestos-containing materials can release fibers into the air.
During Home Purchase or Inspection
Testing can prevent unexpected costs after buying a property.
After Discovering Suspicious Materials
If you uncover old insulation, tile, or ceiling textures — pause and evaluate before touching anything.
When Indoor Air Quality Is a Concern
If materials are damaged or deteriorating, testing may help assess risk.
Can You Tell If Something Has Asbestos Just by Looking?
No — and this is where many homeowners make mistakes.
Asbestos can look like:
- Popcorn ceilings
- Vinyl floor tiles
- Pipe insulation
- Cement siding
But many non-asbestos materials look identical.
👉 For visual examples, see:
what asbestos is and where it’s found
Common Materials in Homes That Should Be Tested
Here are the most common places asbestos is found:
Popcorn Ceilings
Common in homes built before the 1990s.
Vinyl Floor Tiles and Adhesives
Often found in kitchens and basements.
Pipe Insulation
Typical in older heating systems.
Attic Insulation
Especially loose-fill or vermiculite insulation.
Cement Siding and Roofing
Older exterior materials may contain asbestos fibers.
Drywall Joint Compounds
Used in patching and finishing walls.
Types of Asbestos Testing in Homes (Explained Simply)
Different situations require different testing methods.
| Type of Testing | Purpose | When Used |
| Inspection | Identify suspect materials | Initial evaluation |
| Bulk sampling | Confirm asbestos presence | Most common |
| Air testing | Detect airborne fibers | After disturbance |
| Clearance testing | Confirm safety after removal | Post-abatement |
Professional Testing vs DIY Asbestos Test Kits
Professional Testing
- Safe sampling procedures
- Certified lab analysis
- Accurate results
- Legal compliance
DIY Test Kits
- Lower upfront cost
- Requires handling materials yourself
- Higher risk of contamination
- Less reliable sampling
👉 In most cases, professional testing is the safer and more accurate option.
Step-by-Step: What Happens During a Professional Asbestos Inspection?
Here’s how the process usually works:
1. Initial Assessment
The inspector evaluates the property and identifies suspect materials.
2. Material Identification
Areas like ceilings, flooring, insulation, and pipe wraps are examined.
3. Safe Sample Collection
Samples are collected using controlled techniques to prevent fiber release.
4. Laboratory Analysis
Samples are sent to certified labs for testing.
5. Report and Recommendations
You receive a report explaining:
- Whether asbestos is present
- Material condition
- Recommended next steps
What Not to Do Before Asbestos Testing
This is critical.
Avoid these common mistakes:
- ❌ Cutting or breaking materials
- ❌ Sanding or scraping surfaces
- ❌ Vacuuming or sweeping dust
- ❌ Starting renovation before testing
These actions can release asbestos fibers into the air.
How to Prepare for an Asbestos Inspection
You can make the process smoother by preparing ahead:
- Take clear photos of the area
- Note approximate size and location
- Identify the age of the building
- Outline any renovation plans
- Restrict access to the area
Testing Before Renovation: Why It Matters More Than You Think
Most asbestos exposure happens during renovation.
Common risk areas include:
- Flooring removal
- Ceiling scraping
- HVAC work
- Insulation replacement
Testing first helps prevent:
- Air contamination
- Expensive cleanup
- Project delays
How to Choose the Right Asbestos Testing Company
Not all providers offer the same quality.
Look for:
Licensing and Certification
Ensure compliance with state and federal regulations.
Clear Scope of Work
Understand what is included in the inspection.
Lab Testing Standards
Use accredited laboratories.
Detailed Reporting
You should receive clear and actionable results.
What Happens If the Test Is Positive?
A positive result doesn’t always mean removal is required.
Leave It Undisturbed
If the material is stable and not being disturbed.
Encapsulation
Sealing the material to prevent fiber release.
Removal
Recommended if:
- Material is damaged
- Renovation is planned
- High exposure risk exists
👉 Learn more about next steps and costs:
If asbestos is confirmed, you can review the asbestos removal cost in Cleveland to plan your next steps.
Common Mistakes Homeowners Make When Testing for Asbestos
- Testing too late (after disturbance)
- Choosing low-quality or incomplete testing
- Ignoring small damaged areas
- Assuming materials are safe without confirmation
Frequently Asked Questions About Asbestos Testing
Can I test for asbestos myself?
Yes, but it’s not recommended due to safety risks.
How long does asbestos testing take?
Typically 1–3 days depending on lab turnaround.
Do I need testing before renovation?
Yes — it’s one of the most important steps.
Is asbestos visible to the eye?
No — lab testing is required for confirmation.
Can I stay home during testing?
In most cases, yes — if materials are not disturbed.
Need Help Identifying or Testing Asbestos in Your Home?
If you’re unsure whether a material contains asbestos, the safest approach is to get professional guidance before disturbing anything.
At Silver Shield Environmental Ltd, we help homeowners and property managers:
- Identify potential asbestos materials
- Understand safe next steps
- Plan inspections and removal properly
👉 If you’re unsure what to do next, our licensed asbestos removal experts in Cleveland can guide you safely.
Or request a quick evaluation by sharing photos and details — we’ll guide you on what to do next.
Important Compliance Notice
Asbestos testing and removal are regulated processes. Always follow local, state, and federal guidelines when handling suspect materials.
For official guidance, refer to:
Final Thoughts
Testing for asbestos isn’t complicated — but it must be done correctly.
Most problems happen when materials are disturbed before testing is done.
If you’re planning any work on your property, taking this step first can save you:
- Time
- Money
- Health risks